
How to Paint a Clean Wobble Mask Without Warped Edges
Learn where to paint, where to erase and how to soften a motion mask so wobble animations move naturally without torn outlines.
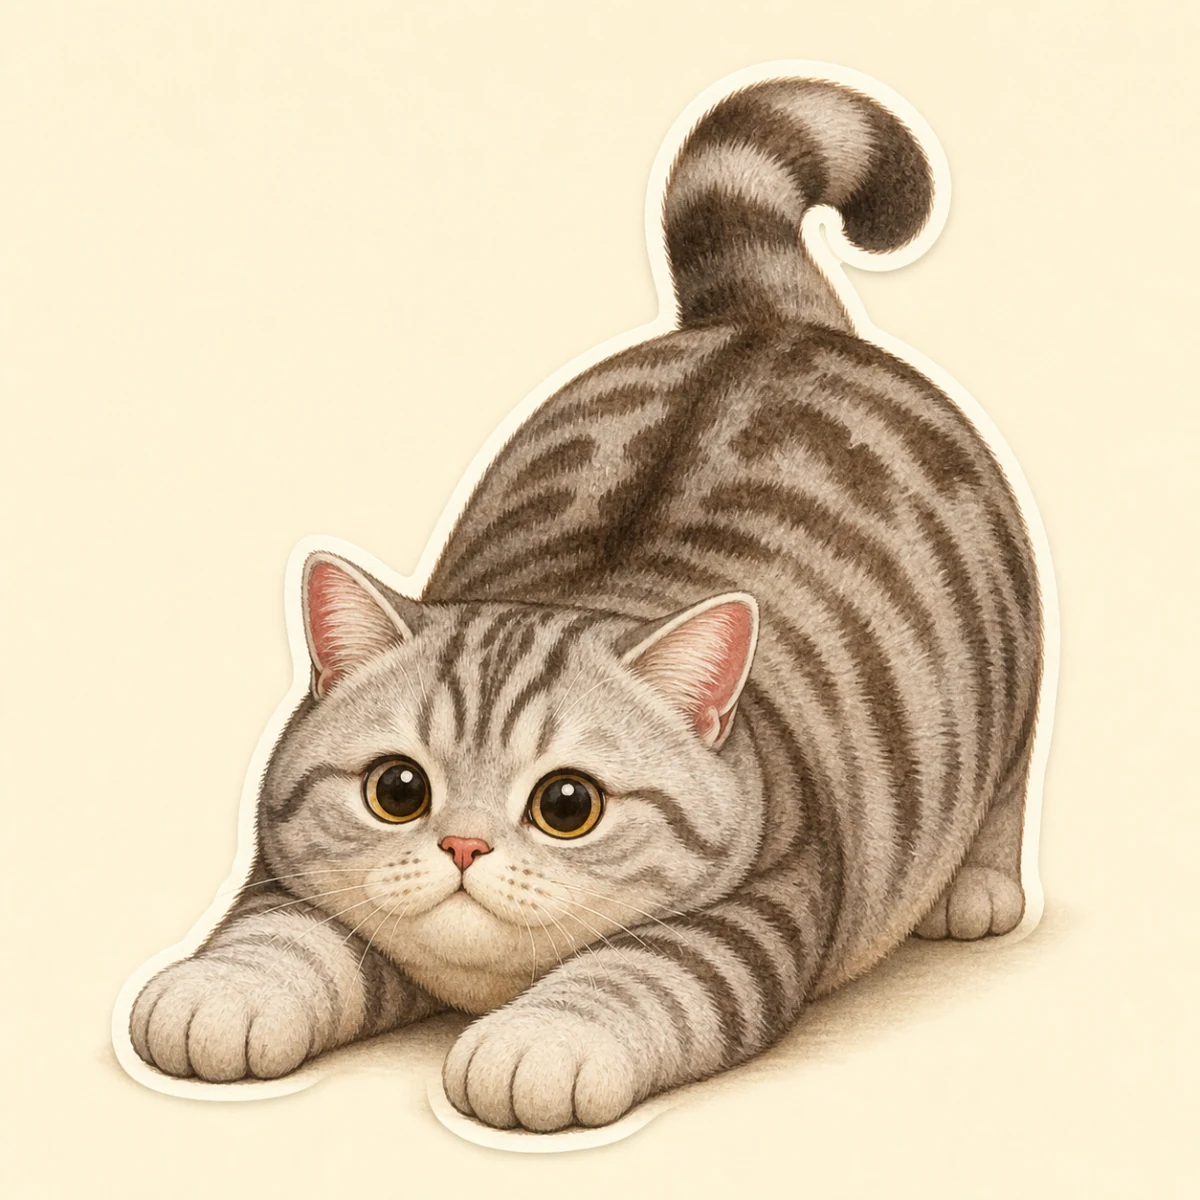
A wobble effect looks convincing when the moving part feels soft but the rest of the picture stays anchored. Most visible glitches are not caused by the motion preset. They begin with the mask: it stops at a hard edge, crosses a detail that should remain readable, or leaves too little room around the subject for pixels to bend.
This guide explains a repeatable way to paint a clean mask in Purupuru Maker. It works for illustrations, pet photos, food, plush toys and product shots, and it does not require pixel-perfect tracing.
Think in materials, not outlines
Before painting, decide which parts of the subject would actually flex. A cat's belly can jiggle while its eyes and the background stay still. A pudding can move through most of its body while the plate remains anchored. Hair may sway from the middle to the tip while the roots move much less.
That material decision is more useful than tracing every visible edge. If the mask simply follows the silhouette of the whole object, rigid details such as eyes, labels, jewelry and tableware may bend along with the soft area.
Start by naming three regions:
- Core motion: the soft center that should move clearly.
- Transition: a narrow border where motion should fade into the still image.
- Anchor: details and background that should remain stable.
This mental map takes a few seconds and prevents most repainting later.
Paint the core with a broad brush
Use a brush that is large relative to the moving area. Fill the center in broad strokes instead of scribbling along the edge. A broad mask is smoother and easier to adjust because it contains fewer accidental gaps.
For a face or pet photo, begin on the cheeks or belly and leave the eyes, nose and outer contour for the next pass. For food, cover the soft body first and leave the plate, wrapper or table untouched. For an illustration, protect line art that carries the expression until the motion is already working.
Preview the result at moderate strength. If the correct area moves but looks too subtle, increase motion strength later. Adding more mask is not the same as adding more movement: it changes where deformation is allowed, not just how far pixels travel.
Build a soft transition at the boundary
The transition zone is the difference between a rubbery bend and a cut-out that appears to slide over the background. Lower brush strength and paint one or two passes around the core. The outer edge should receive less mask than the center.
Do not be afraid to extend a weak mask slightly beyond a visible silhouette. The deformation needs neighboring pixels to interpolate a curved edge. A tiny amount of soft coverage outside fur, fabric or jelly often looks cleaner than a hard stop exactly on the outline.
There are two exceptions:
- Keep high-contrast straight edges, such as a phone screen or product box, outside the mask unless bending is intentional.
- Keep readable text and small logos anchored. Even a gentle deformation can make lettering look damaged.
Protect faces and other identity details
Viewers notice facial distortion before almost any other artifact. On a pet or character, erase the pupils, sharp eyelid lines and small mouth details if they begin to swim. The cheeks, ears, hair and surrounding soft tissue can still move around those anchors.
The same rule applies outside portraits. Preserve the focal detail that tells a viewer what the image is: a product name, the top decoration on a cake, the center of an icon, or the caption in a meme. Motion is strongest when it frames the point of attention instead of destroying it.
Use undo and redo to compare versions. Alternating between a broad expressive mask and a restrained mask is more informative than staring at one result and trying to remember the previous shape.
Match mask softness to the preset
Different motion styles expose different mask problems:
- Jelly is forgiving when the transition is soft and works for rounded subjects.
- Sway needs a clear anchor at one end, such as hair roots or the base of a leaf.
- Bounce can reveal horizontal seams, so keep the base stable and soften the region directly above it.
- Wave works best on long continuous masks. Gaps can create separate pieces that move out of rhythm.
- Pulse benefits from an even mask around the center because it expands in more than one direction.
- Quake intentionally exaggerates motion and will expose every loose edge; use it after the mask already looks clean at lower strength.
Test a mask first with Jelly at medium strength and speed. Once the boundary is clean, choose the preset that matches the material. This separates mask errors from preset choices and makes troubleshooting much faster.
Inspect the animation at two sizes
Watch the preview once at its normal size and once at a smaller size similar to the final destination. Full-size inspection reveals torn pixels and bent text. Thumbnail inspection shows whether the motion reads clearly in a chat, social feed or product grid.
Let at least two complete cycles play. Check the transition boundary, anchored details and the point where the loop returns to its first frame. If the subject appears to jump, lower strength or speed before repainting the entire mask.
For GIF export, also look for color banding around soft shadows. That issue comes from the GIF palette rather than the mask. If the animation looks clean in the preview but loses gradients after export, compare it with MP4 using the GIF versus MP4 guide.
A practical cleanup checklist
Before exporting, ask:
- Is the main soft region fully covered without holes?
- Does mask strength fade near the boundary?
- Are eyes, text, logos and rigid objects still readable?
- Is at least one part of the subject clearly anchored?
- Does the loop look stable for two complete cycles?
- Does the motion still read at the size where it will be posted?
If all six answers are yes, the mask is ready. Export one loop first, then make a longer file only when the destination needs it. You can follow the complete upload-to-export workflow in How to Make a Wobbling GIF from Any Image, or return to the Purupuru Maker editor and test the technique on one of the built-in samples.